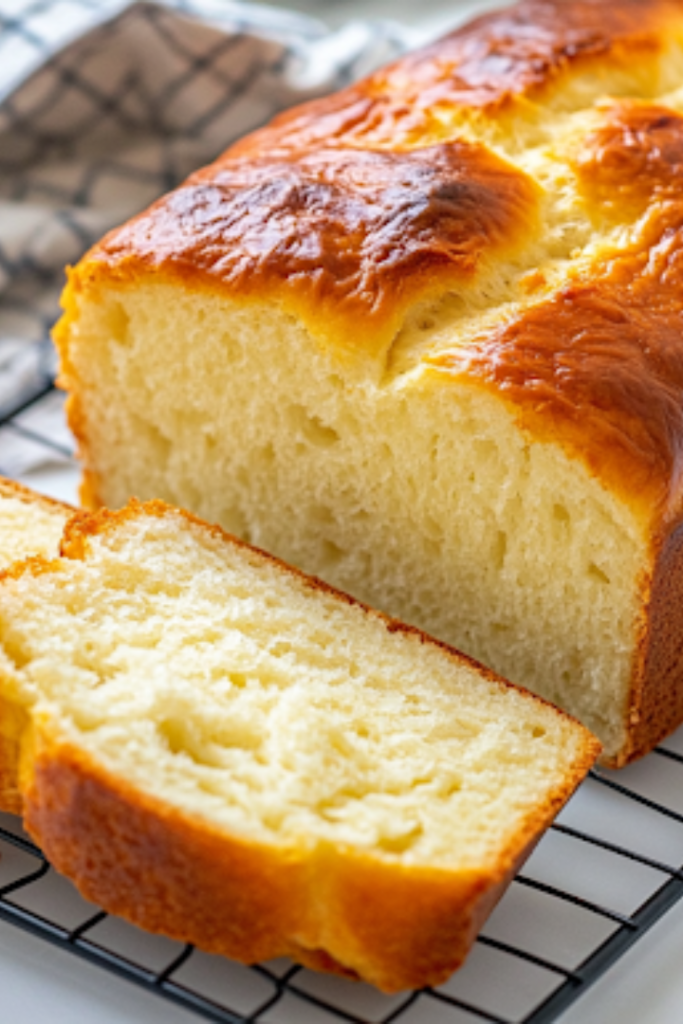
There’s something magical about the scent of freshly baked bread filling the kitchen—warm, yeasty, and just a little sweet. This recipe for Grandma’s Perfect Homemade Bread is more than just a loaf; it’s a connection to simpler times when every slice was made with care and shared with love.
This bread is incredibly soft, with a light, fluffy crumb and just the right amount of chew. Whether slathered with butter, dipped into a bowl of Crockpot Chicken Noodle Soup, or served alongside Garlic Parmesan Chicken Potatoes, it’s the kind of recipe that turns an ordinary meal into something special.
What makes this bread stand out? It’s foolproof—even for beginners! With just a handful of pantry staples like warm water, yeast, flour, and olive oil, you can create a golden-crusted loaf that tastes better than anything from the store.
Plus, homemade bread is free from preservatives and artificial ingredients, making it a healthier, more wholesome choice. Homemade bread is making a comeback, and for good reason—studies show that baking can reduce stress, and nothing beats the satisfaction of slicing into a loaf you made from scratch.
What Makes This Recipe a Must-Try?
- It’s ridiculously easy – No fancy techniques, just a simple mix, knead, and bake. Perfect for beginners!
- Soft, fluffy, and nostalgic – This bread has the perfect texture and reminds me of the warm loaves my grandma used to make.
- Versatile and meal-friendly – From morning toast to dinner rolls, this bread pairs beautifully with everything.
- Healthier and homemade – No preservatives, no additives—just pure, wholesome ingredients.
- Baking therapy – There’s something calming about kneading dough and watching it rise. Plus, your kitchen will smell amazing!
Grandma’s Perfect Homemade Bread Recipe
Ingredients
Equipment
Method
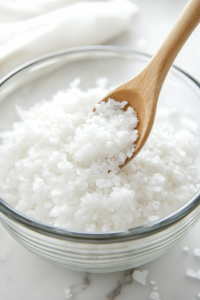
- In a large bowl, mix warm water, sugar, and yeast. Let it sit for 5-10 minutes until foamy.

- Add salt, oil, and flour gradually, stirring until the dough forms.
- Knead the dough on a floured surface for about 8-10 minutes until smooth and elastic.
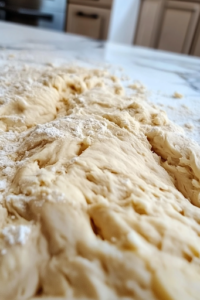
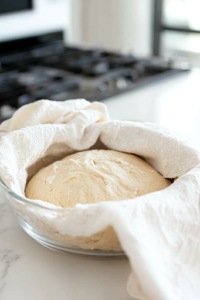
- Place the dough in a greased bowl, cover with a towel, and let it rise for 1 hour.
- Punch down the dough, shape it into a loaf, and place it in a greased loaf pan.
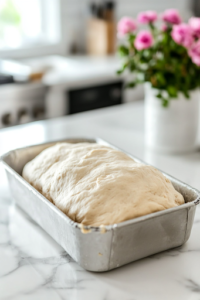
- Let it rise again for 30 minutes while preheating the oven to 375°F (190°C).
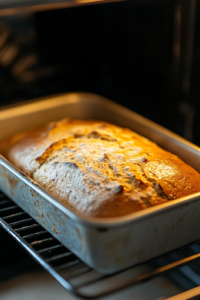
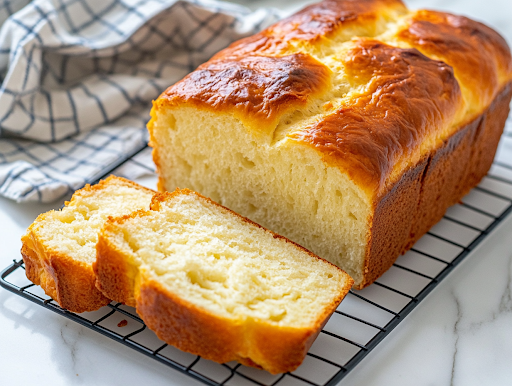
- Bake for 25-30 minutes until golden brown and hollow-sounding when tapped.
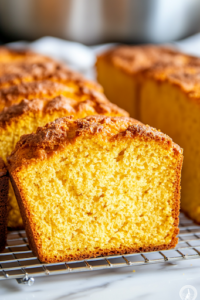
- Let the bread cool on a wire rack before slicing and serving.
Nutrition Info:
| Nutrition | Value |
| Calories | 171kcal |
| Carbohydrates | 33g |
| Protein | 4g |
| Fat | 2g |
| Sugar | 3g |
| Sodium | 185mg |
Creative Variations for This Recipe!
1. Overnight Cold Fermentation
For deeper flavor and a chewier texture, let the dough rise slowly in the fridge overnight instead of at room temperature. This slow fermentation develops a rich, slightly tangy taste—almost like a rustic artisan loaf. Just bring it to room temperature before baking.
2. Milk & Butter Upgrade
Swap half of the water with warm milk and add 2 tablespoons of melted butter to the dough. This creates an incredibly soft and slightly richer bread, perfect for toasting or making French toast.
3. Potato Bread Twist
Mash about ½ cup of cooked potato and mix it into the dough. This keeps the bread extra soft and moist while adding a mild sweetness. It’s a great way to use up leftover mashed potatoes!
4. Herb & Olive Oil Infusion
Before kneading, mix in a teaspoon of dried herbs (like rosemary, thyme, or oregano) and replace regular oil with an herbed olive oil. This gives the bread a subtle, fragrant flavor that pairs beautifully with soups and pasta dishes.
5. Rustic Whole Wheat Blend
For a hearty texture, replace 1 to 2 cups of all-purpose flour with whole wheat flour. Adding a tablespoon of honey or molasses will balance the nutty flavor and help keep the bread soft.
6. The Ultimate Toasting Loaf
For the perfect crispy toast, brush the top of the dough with an egg wash before baking. This gives the crust a beautiful golden sheen and a slightly firmer texture—ideal for holding up spreads and toppings.
7. Seed-Crusted Loaf
Before baking, brush the dough with milk or water and sprinkle sesame seeds, poppy seeds, or sunflower seeds on top. This adds a satisfying crunch and a nutty aroma to each slice.
8. Honey Oat Topping
For a bakery-style finish, drizzle honey over the dough and press rolled oats onto the surface before baking. This gives a slightly sweet, chewy crust that pairs well with butter or jam.
9. Stuffed Bread Rolls
Instead of making a loaf, divide the dough into small portions and stuff them with cheese, garlic butter, or even cinnamon sugar. Bake as rolls for a fun, flavorful twist!

John Lee’s love for cooking is deeply rooted in family tradition. Growing up, the men in his family took charge of the kitchen, turning every meal into a special occasion. From weekend barbecues to holiday feasts, food was more than sustenance—it was a way to connect.
Inspired by this upbringing, John developed a passion for creating dishes that bring people together. After meeting Joe Miller through mutual friends, he joined Food Landscape Insight to share his love for simple yet extraordinary cooking, crafting meals that tell a story and create lasting memories.


