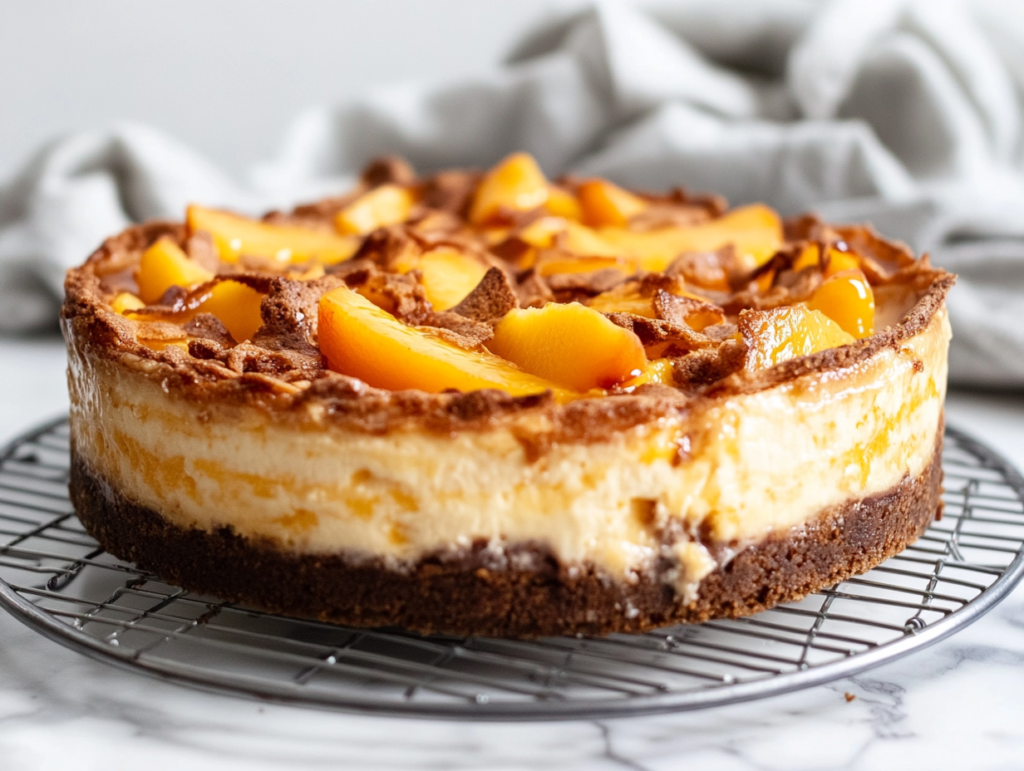
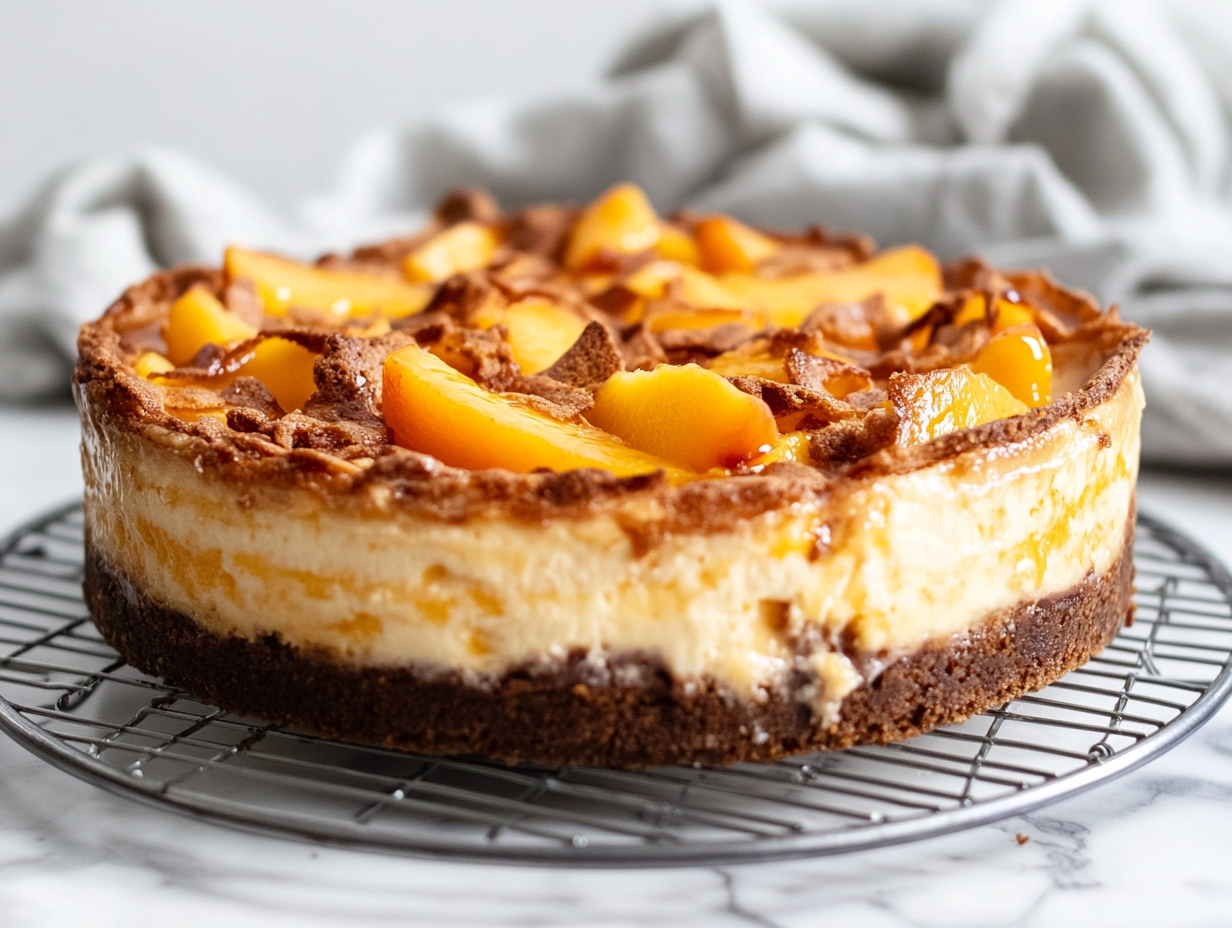
When I think of summer desserts that wow a crowd, Peach Cobbler Cheesecake is the one that always makes an appearance. It’s the perfect combination of sweet, tangy, and creamy, with just the right touch of Southern comfort.
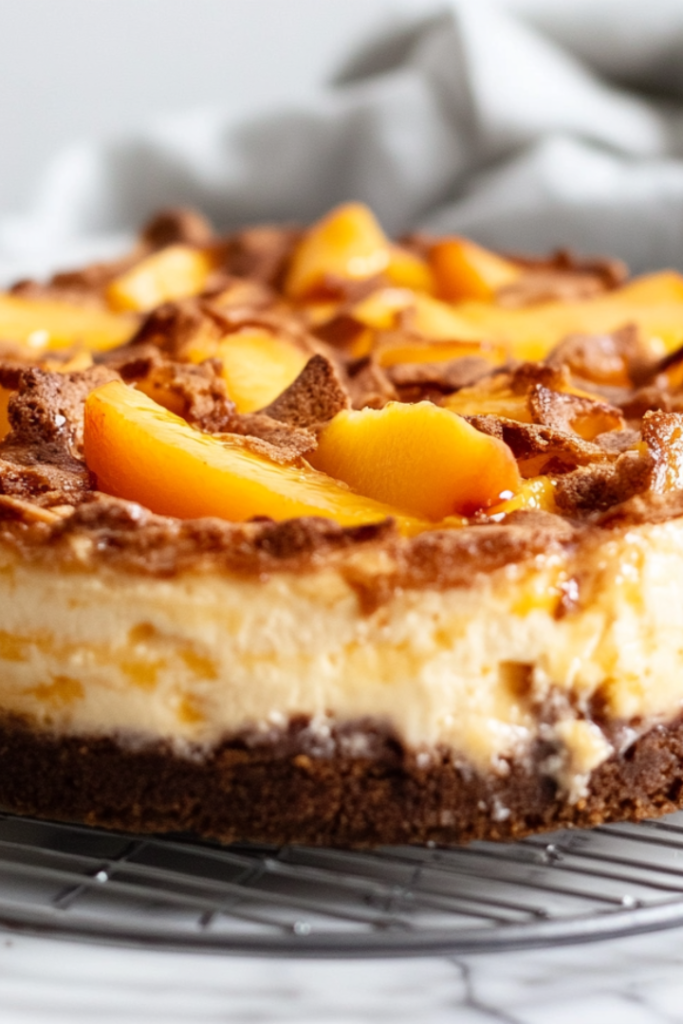
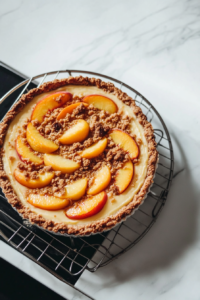
The smooth, rich cheesecake layers contrast beautifully with the warm, spiced peach topping—each bite feels like a bite of pure indulgence.
I love making this for family gatherings or just a cozy night in. The peaches, whether fresh or canned, bring a burst of fruity goodness that balances the creamy cheesecake filling, and the crumble topping adds that comforting cobbler touch.
It’s a showstopper that’s easy enough for a weeknight yet impressive enough for a holiday table. Whether you’re in the mood for peaches or fresh berries, both desserts are the perfect way to celebrate summer.
The combination of these textures and flavors makes it irresistible, and I’m always surprised by how quickly it disappears.
Why This Is My Go-To Recipe?
- It’s a crowd-pleaser: This cheesecake combines the best of both worlds: cheesecake and cobbler. People always rave about it!
- Easy to make: While it looks fancy, it’s surprisingly simple to throw together—perfect for anyone, even beginners.
- Peach perfection: Whether it’s summer or off-season, the peaches (fresh or frozen) keep this dish light, refreshing, and full of flavor.
- Versatile: I love switching things up by adding a pinch of cinnamon or even a dash of bourbon to the peach topping for an extra twist.
Peach Cobbler Cheesecake Recipe
Ingredients
Equipment
Method
- Preheat your oven to 325°F (163°C).
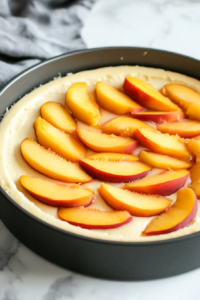
- Prepare a graham cracker crust by mixing crushed graham crackers, sugar, and melted butter, then press into the bottom of a springform pan.
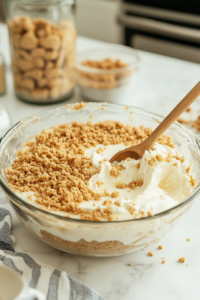
- In a bowl, beat cream cheese, sugar, and vanilla until smooth.

- Add eggs one at a time, mixing well after each addition.
- Pour the cheesecake batter over the crust and smooth the top.

- Layer fresh or canned peaches over the cheesecake mixture.
- Bake for 55-60 minutes or until set, but still slightly jiggly in the center.
- Let cool, then chill in the fridge for at least 4 hours before serving.
Nutrition Info:
| Nutrition | Value |
| Calories | 877kcal |
| Carbohydrates | 121g |
| Cholesterol | 286mg |
| Fat | 73g |
| sugar | 92mg |
| Protein | 16g |
Tips to Bring Perfection to Your Dish!
1. Use Ripe but Firm Peaches
- Choose ripe peaches for natural sweetness, but make sure they’re not overly soft to hold their shape after roasting.
2. Roast Peaches for Enhanced Flavor
- Roasting caramelizes the sugars, intensifying the peachy flavor. Spread them evenly on a baking sheet and roast at 375°F (190°C) for 15-20 minutes before layering them onto the cheesecake.
3. Pack the Graham Cracker Crust Firmly
- Use the bottom of a measuring cup or glass to firmly press down the crust to prevent crumbling when slicing.
4. Don’t Overmix the Cheesecake Batter
- Overmixing incorporates excess air, leading to cracks when baking. Beat just until smooth and creamy.
5. Bring Ingredients to Room Temperature
- Cream cheese, eggs, and sour cream should be at room temperature for a lump-free, velvety texture.
6. Bake in a Water Bath for Even Cooking
- Wrap the pan in foil and place it in a hot water bath to ensure gentle, even baking and prevent cracks.
7. Avoid Overbaking
- The cheesecake should be slightly jiggly in the center when removed from the oven—overbaking results in a dry texture.
8. Let It Cool Gradually
- Cool the cheesecake inside the oven with the door slightly open for about an hour before transferring it to the fridge. This prevents drastic temperature changes that cause cracking.
9. Chill for at Least 4 Hours (Overnight is Best!)
- A well-chilled cheesecake sets properly and enhances flavors. Overnight chilling gives the best results.
10. Add Streusel Right Before Serving for Crunch
- To keep the cinnamon streusel crisp, sprinkle it on top just before serving so it doesn’t absorb moisture from the cheesecake.
Joe Miller is the passionate founder of Food Landscape Insight, where he shares his love for cooking and culinary experiences. Growing up in a family-run diner, Joe was immersed in the vibrant world of food from an early age. The kitchen became his canvas, and food, his way of storytelling.
Through years of experimentation and learning, Joe honed his skills and started his blog to inspire others to embrace the joy of cooking. Each recipe he shares is a blend of tradition, creativity, and the heartfelt memories that food brings to life, all with the aim of fostering a deeper connection to food.


