There’s something deeply satisfying about making your own pizza dough from scratch. The aroma of yeast blooming in warm water, the silky smoothness of the dough after kneading—it’s a process that turns a simple meal into an experience. But let’s be real: kneading dough by hand can feel like an arm workout you didn’t sign up for.
That’s where a stand mixer pizza dough recipe changes the game. With minimal effort, you get a light, airy crust that’s crisp on the outside and chewy on the inside—just like your favorite pizzeria.
This recipe has been my go-to for years, especially on busy weeknights when I want homemade pizza without the hassle. It’s incredibly versatile, making a perfect base for classic Margherita, loaded veggie, or even white garlic pizza. And the best part? No more sore arms from kneading!
Pair your pizza with a fresh Caprese Salad or a zesty Greek Salad for a well-rounded meal. With just a few pantry staples—flour, yeast, olive oil, and a pinch of garlic salt—this dough comes together effortlessly.
Plus, homemade pizza costs less than delivery and lets you control the ingredients, making it a healthier choice. Studies even show that home-cooked meals tend to be lower in calories and higher in nutrients than takeout. Make this once, and you’ll never go back to store-bought dough again.
Why You Will Be Hooked?
- Effortless Kneading: The stand mixer does all the heavy lifting, so you get perfectly elastic dough with zero effort.
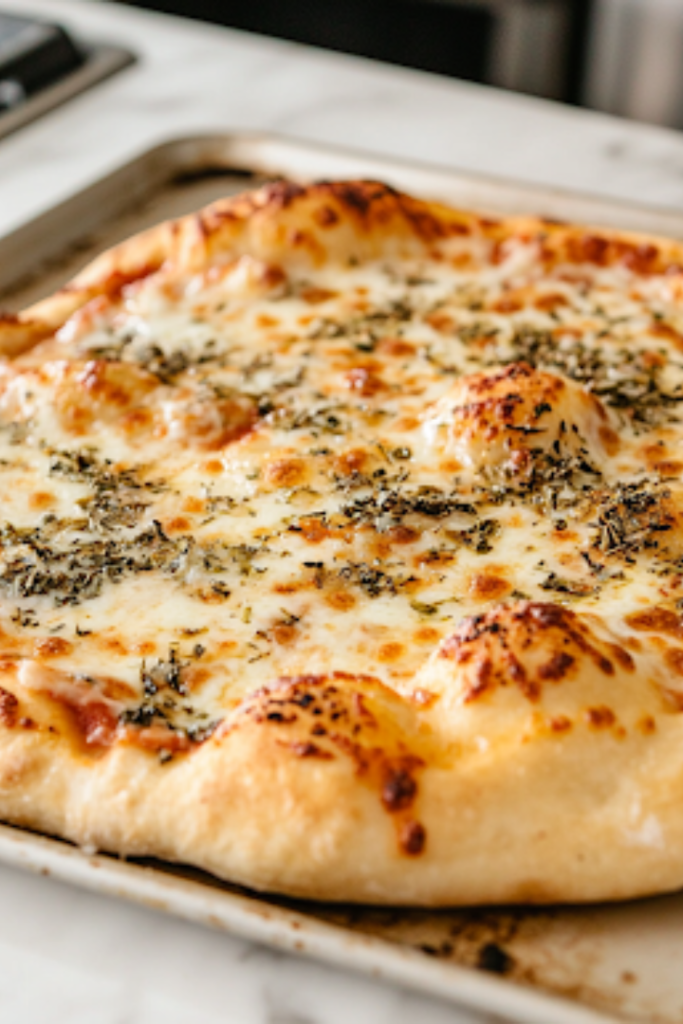
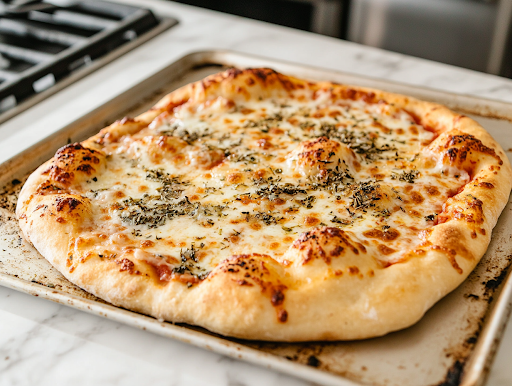
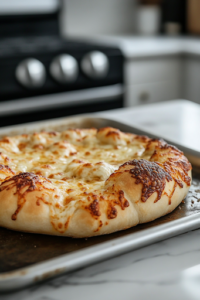
- Pizzeria-Style Crust at Home: Crispy, chewy, and golden brown—this dough delivers the texture of a professional pizza oven.
- Customizable & Budget-Friendly: You control the toppings and ingredients, making it healthier and more affordable than takeout.
- Works for Any Pizza Style: Whether you prefer thin crust, pan pizza, or stuffed crust, this dough adapts beautifully.
- Ready in No Time: No long proofing times—just mix, rise, and roll!
Stand Mixer Pizza Dough Recipe
Ingredients
Equipment
Method
- In the stand mixer bowl, combine warm water, yeast, and sugar. Let it sit for 5 minutes until foamy.

- Add flour, olive oil, kosher salt, and garlic salt. Mix on low speed until combined.
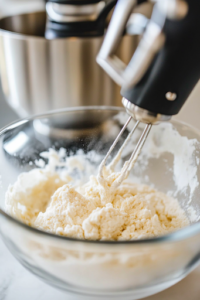
- Increase speed to medium and knead for 5-7 minutes until the dough is smooth and elastic.
- Transfer the dough to a greased bowl, cover, and let it rise for 1 hour or until doubled in size.

- Preheat oven to 475°F (245°C) and prepare your baking surface.
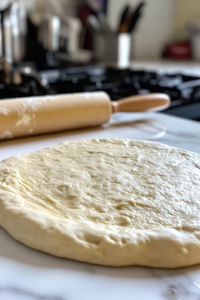
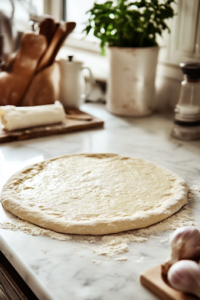
- Punch down the dough, roll it out to your desired thickness, and transfer it to a pizza stone or baking sheet.
- Add your favorite toppings and bake for 12-15 minutes until golden and crispy.
- Let it cool for a few minutes, slice, and enjoy!
Nutrition Info:
| Nutrition | Value |
| Calories | 186kcal |
| Carbohydrates | 32g |
| Protein | 5g |
| Fat | 4g |
| Sugar | 1g |
| Sodium | 366mg |
Flavor-Packed Variations For Stand Mixer Pizza Dough!
- Cold Fermentation for Maximum Flavor – Instead of using the dough immediately, let it ferment in the fridge for 24-48 hours. This slow rise develops deeper, more complex flavors—just like artisan pizzerias do!
- Swap Water for Beer – Replace half the warm water with a light beer (like a lager or pilsner) for a subtle maltiness that enhances the crust’s flavor.
- Add a Tangy Twist with Sourdough – If you have a sourdough starter, swap out ¼ cup of water and flour for ½ cup of starter. It adds a fantastic chew and a slight tang to your crust.
- Charred Edge Effect (New York-Style Upgrade) – Right before baking, brush the crust with a light coat of honey or sugar water. This gives it that signature golden, slightly caramelized edge.
- Double Hydration Method for a Softer Inside – For an airier, more delicate crumb, add an extra 2 tablespoons of water and let the mixer knead for a few extra minutes. It creates a slightly stickier but beautifully tender dough.
- Herb & Cheese Infusion for Next-Level Flavor – Knead in some grated Parmesan, dried oregano, or finely chopped fresh basil directly into the dough. Every bite will be packed with flavor—even before adding toppings!
- Baking Steel or Cast Iron Hack – If you want that authentic, crispy-bottomed crust, skip the baking sheet and bake your pizza on a preheated cast iron skillet or baking steel. The intense heat makes all the difference!

John Lee’s love for cooking is deeply rooted in family tradition. Growing up, the men in his family took charge of the kitchen, turning every meal into a special occasion. From weekend barbecues to holiday feasts, food was more than sustenance—it was a way to connect.
Inspired by this upbringing, John developed a passion for creating dishes that bring people together. After meeting Joe Miller through mutual friends, he joined Food Landscape Insight to share his love for simple yet extraordinary cooking, crafting meals that tell a story and create lasting memories.