Halloween isn’t just about costumes and candy—it’s about those simple, nostalgic treats that bring people together. If there’s one snack that perfectly captures the magic of the season, it’s Halloween Rice Krispies Treats.
Crunchy, gooey, and packed with festive fun, these no-bake delights are an effortless way to celebrate. Whether you’re hosting a spooky party, making treats for school, or just indulging in some autumn fun, this recipe is a must-have in your Halloween lineup.
What makes these treats truly special? It’s all in the details. Melted butter and marshmallows create a silky-smooth, chewy base, while a dash of salt enhances the sweetness just enough to keep you reaching for more.
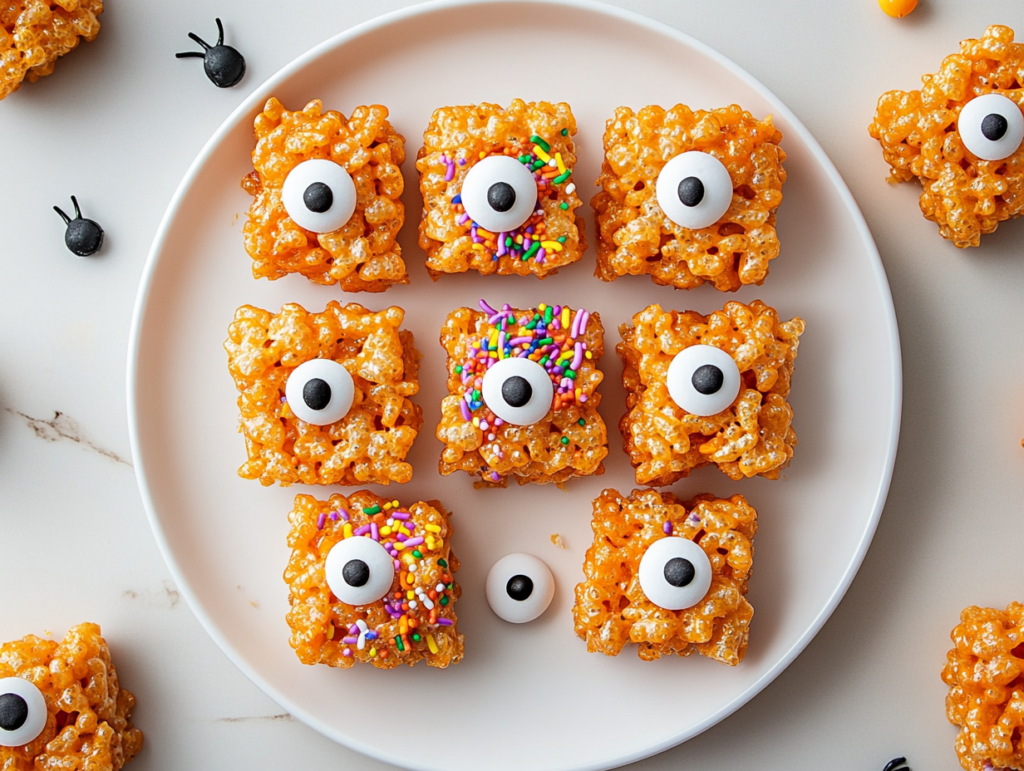
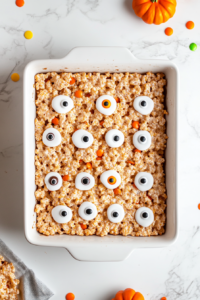
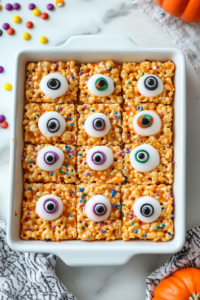
Add in a pop of orange and black sprinkles, plus some eerie candy eyes, and you’ve got a treat that’s equal parts delicious and playful.
These pair wonderfully with savory snacks like Muffins for a balance of flavors or a cozy bowl of Banana Bread Cookies for a full fall-themed spread. They’re simple. They’re festive. And they’re the kind of treat that disappears fast. So grab your ingredients, and let’s get mixing!
Why I Love This Recipe (And You Will, Too!)

- It’s ridiculously easy! No baking, no fuss—just a quick melt, mix, and press. Perfect for busy Halloween prep.
- Customizable fun: Swap in different sprinkles, drizzle with white chocolate, or shape them into pumpkins for extra spooky vibes.
- A hit with all ages: Whether you’re five or fifty, there’s something irresistible about that gooey marshmallow crunch.
- Great for parties: These hold up well for school treats, Halloween gatherings, or as a festive gift bag treat.
- The ultimate nostalgia bite: One bite, and you’re instantly reminded of childhood Halloween fun!

Halloween Rice Krispies Recipe
Ingredients
Equipment
Method
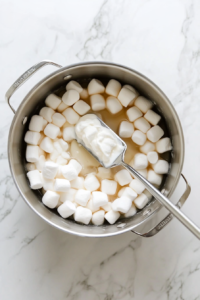
- Melt Butter & Marshmallows – In a large pot over low heat, melt the butter. Add marshmallows and stir until smooth.
- Add Salt – Stir in salt to enhance flavor.
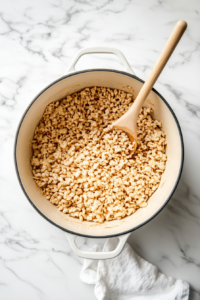
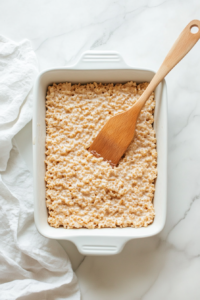
- Mix in Cereal – Remove from heat and quickly fold in the Rice Krispies cereal, ensuring it’s evenly coated.
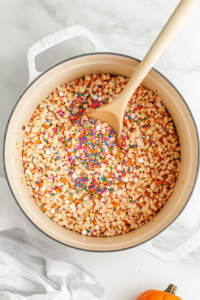
- Add Sprinkles – Gently mix in Halloween-themed sprinkles for a festive touch.
- Press Into Pan – Transfer the mixture to a parchment-lined 9×13-inch baking dish and press evenly.
- Decorate with Googly Eyes – While warm, add candy eyeballs on top for a spooky effect.
- Cool & Set – Let the treats cool at room temperature for about 30 minutes.
- Cut & Serve – Slice into squares and enjoy your Halloween Rice Krispies Treats!
Nutrition Info:
| Nutrition | Value |
| Calories | 65kcal |
| Carbohydrates | 12g |
| Protein | 1g |
| Fat | 2g |
| Sugar | 5g |
| Sodium | 65mg |
Helpful Tips For The Best Halloween Rice Krispies Treats!
- Use fresh marshmallows for the softest treats: Stale or old marshmallows won’t melt as smoothly, making the texture harder and less gooey. Always go for a fresh bag!
- Don’t overheat the marshmallow mixture: Keep the heat on low and stir gently—high heat can make the marshmallows tough and give the treats a dense texture instead of that perfect chewiness.
- Grease your hands (or use parchment paper) when pressing the mixture: Instead of struggling with sticky fingers, lightly coat your hands with butter or press the mixture down using a sheet of parchment paper for an even, mess-free surface.
- For extra marshmallow pockets, reserve a handful! Stir in some whole marshmallows after you mix in the cereal—this adds gooey little pockets throughout the treats for an even better bite.
- Want thicker, bakery-style bars? Use a smaller pan (like 8×8 or 9×9 inches) instead of a 9×13-inch one. This gives you chunkier, more indulgent squares.
- Let them cool completely before cutting: If you cut them too soon, they can fall apart. For the cleanest cuts, let them sit for at least 30 minutes, or pop them in the fridge for 10 minutes to firm up.
- Play with mix-ins! Crushed Oreos, candy corn, or even a drizzle of white chocolate can take these from classic to next-level Halloween treats.

John Lee’s love for cooking is deeply rooted in family tradition. Growing up, the men in his family took charge of the kitchen, turning every meal into a special occasion. From weekend barbecues to holiday feasts, food was more than sustenance—it was a way to connect.
Inspired by this upbringing, John developed a passion for creating dishes that bring people together. After meeting Joe Miller through mutual friends, he joined Food Landscape Insight to share his love for simple yet extraordinary cooking, crafting meals that tell a story and create lasting memories.


